How to take a screenshot on Windows PC or Laptop?
How to take screenshots on your Windows PC
noviembre 9, 2022Abroad Brides
noviembre 10, 2022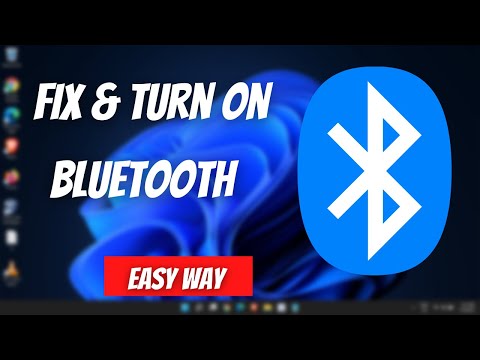
Some devices will ask you to enter a pin for confirmation. Once you enter the pin, the devices will now be connected. Some devices will ask you to enter a pin for confirmation, which can be found in your device’s manual. If this is the first time you used Swift Pair, Windows will ask you for your consent.
Then, under the Sources box, select the plus icon. You’ll see a menu appear that you can use to add all of the input sources that you’ll use for your scene. Select Display Capture if you want to record a video of your desktop.
How Do I Unlink My FB Business Page From Instagram?
Hands-free Telephony is a service on Windows that is for using Bluetooth headsets for phone calls. This service sometimes causes audio issues with Bluetooth Headphones so you might need to disable it to resolve audio problems. In some cases, other Bluetooth devices can interfere with the pairing process. So, it is advisable for you to disconnect all the other devices, then pair only the ones you need. This may not be the best workaround for this problem, but some users tried it and claimed that it had fixed the issue.
In fact, for privacy reasons, you can even log out of the Xbox app by clicking on the Setting icons , then Accounts, and click to log out of your Xbox account. The second free screen recorder software we tested is the OBS studio, which offered by the Open Broadcaster Software. The OBS Studio is a powerful and flexible screencast video production and streaming tool, which is available for Windows, MacOS and Linux. However, if you don’t like to use a VLC media player for screen recording here are the 3 best and free screen recorders. Now, a control dock will appear, asking you to select the area which you wish to record. You need to click on “Select Area” and then drag to choose the area.
- As a versatile solution for recording and streaming video, this robust program allows you to customize controls, integrate webcam commentary, and share content with your audience.
- You’ll see a notification that describes where the screenshot is saved.
- The new Snip & Sketch tool is more comfortable to access and makes it easier to share screen captures, but it lacks an important feature that keeps me a fan of the Snipping Tool.
- It does not save screenshots by default, however.
Press ‘Windows + Shift + S’ on your keyboard to bring up the snipping toolbar. You can now use your mouse to capture the screen however, you wish. Use the detailed guide below to make the most out of all the features offered by Snip & Sketch. Simply click and draw on your screen to copy the captured area to your clipboard. This capture can then be pasted in any compatible text field like when composing an email, or to an image sharing site, or in an image editor to create new images altogether.
How to screen record with sound
To crop, annotate, and save your screen capture, you’ll have to paste it into an app like Paint or an image editor of your choice. For very simple editing, you can use Paint which is available in all Windows versions. Open Paint from the Start menu, and then press Ctrl + V on your keyboard to paste your screenshot. From there, you can crop and edit your screenshot to your liking, or save it directly by pressing Ctrl + S on your keyboard.
You would then have to paste that image into another program that has the ability to save it as an image file. Though this method works, it was inconvenient, required an extra program, and was confusing for less experienced computer users. The Greenshot app hides in your system tray; so, you will have minimal interference from this tool. You can add more applications to paste your screenshot in the External Command Plugin.
Even though this software is free, it doesn’t place any watermark and is ad free. Besides, it has no time limits — you can record here videos that are as long as desired. A new iteration of the Start menu is used on the Windows 10 desktop, with a list of places and other options on the left side, and tiles representing applications on the right. The menu can be resized, and expanded into a full-screen display, which is the default option in Tablet mode. A new virtual desktop system was added by a feature known as Task View, which displays all open windows and allows users to switch between them, or switch between multiple workspaces. Universal apps, which previously could be used only in full screen mode, can now be used in self-contained windows similarly to other programs.